-
I forgot not everyone has leaf springs to deal with. I've done a few four-coil cars....simplifies a lot of fabrication -
Hey Jus,
This car is stock with the 2 long lower swing arms and that weird upper control arm thing that looks like it came from the front.
Since it already had coils in the back, it was just a matter of removing the lower coil perches and mounting lower bag brackets in the same place. The upper was a typical angled cylinder mount.
I didn't go with this company, but here is how and why link for the rear. (hope that helps a little Psych)
Click on the instructions download.

There are instruction for the front also in the website, but they are for shockwaves. The idea is still the same.
I opted for 1/4" manual valves. Finding that "just right" height was more important than speed. 2 380 compressors. A pair of 30 cuft scuba tanks fit perfectly behind the 1/4 panels. I mean what the hell, they are rated at 2,000 psi right?Leave a comment:
-
Just curious, what method did you use on the rear? I started with a Chevy style "truck arm" 2-link and ran into clearance issues and opted for an articulating 4-link. It would not take much to return it to original if I ever choose to sell it to someone wanting it that way.Originally posted by BIGEVIL View Post
Although I don't "dance" her, 8 valves is the way to go. you can balance out each corner. (they never seem to sit totally level at ride height)
bagged.jpgLeave a comment:
-
Dude!
We need lots of pics of the perches and the build process if you've got them. If nothing else I'd love to see the workings (You too Creepy)Leave a comment:
-
Sorry to dig up an old thread, but I finally took the plunge on bagging my sled myself.
It was about as hard as I suspected. About 12-15 labor hours. I could probably do it twice as fast next time.
The lowest point is where the rear swing arms pivot at. It sits about 1 inch from the ground. I suppose if I completely removed the rubber snubbers front and rear the frame would lay flat, but I feel better about the safety factor that It will still drive in the event of some kind of failure.
LOWERED TO THE MAX.jpgLeave a comment:
-
I'm near VA beach. Good ways away from you.Originally posted by jesdmes View PostLeave a comment:
-
smooth where in va do you live? i am in va to im close to washington dcLeave a comment:
-
Agreed. Every time your pics pop up, I show the wife and say, "THIS is why I bought a hearse.". not a great deal I can do with an '81 in the "cool" factor, though, unless I put a lift kit and some 28" spokes on it!! Oh yeah! LOL. Maybe not so much.Leave a comment:
-
Thanks dude!
I have a lot of blood and sweat into that car, and it was worth every moment.Leave a comment:
-
Wow man...that's sick...shit looks amazing! Might consider something like that this summer...your coach is so bad ass man lol jus sayin...evertime I see that thing I get a stiffy haha!!!Leave a comment:
-
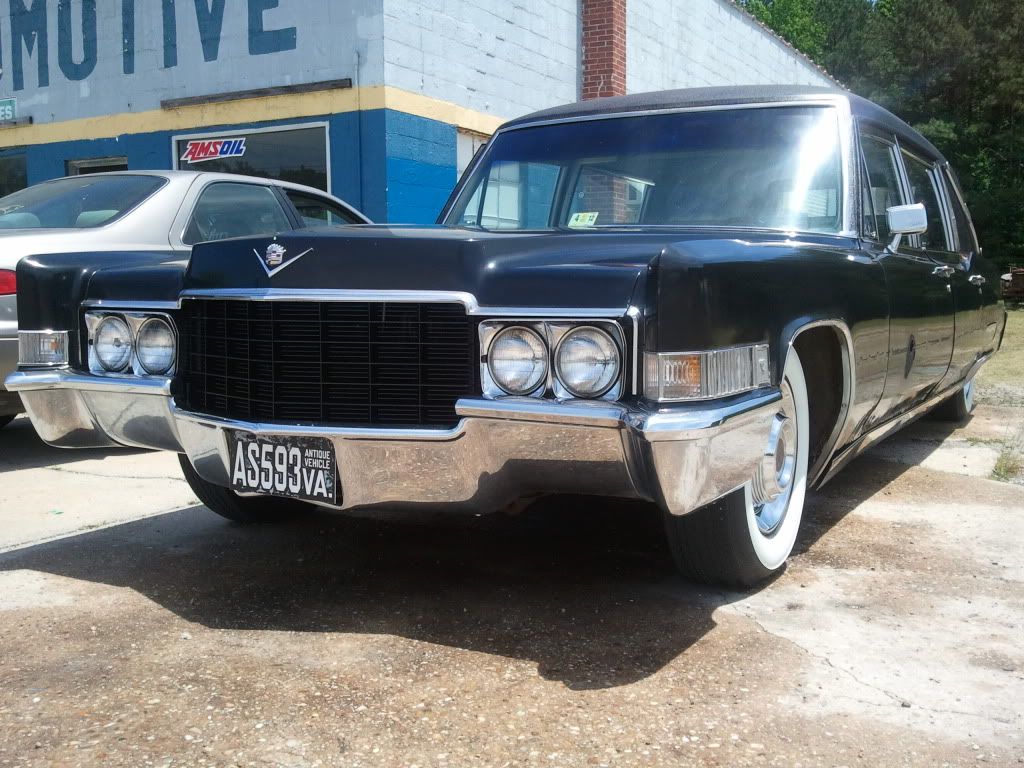
Love the stance!!!
Can't wait to see it bagged on the ground.
btw. I did the same thing on my grill, then sanded all the horizontals with 600 grit, then 1000 grit, and polished. Everybody thinks it's a custom billet grill now, lol. (something to think about)
Leave a comment:
-
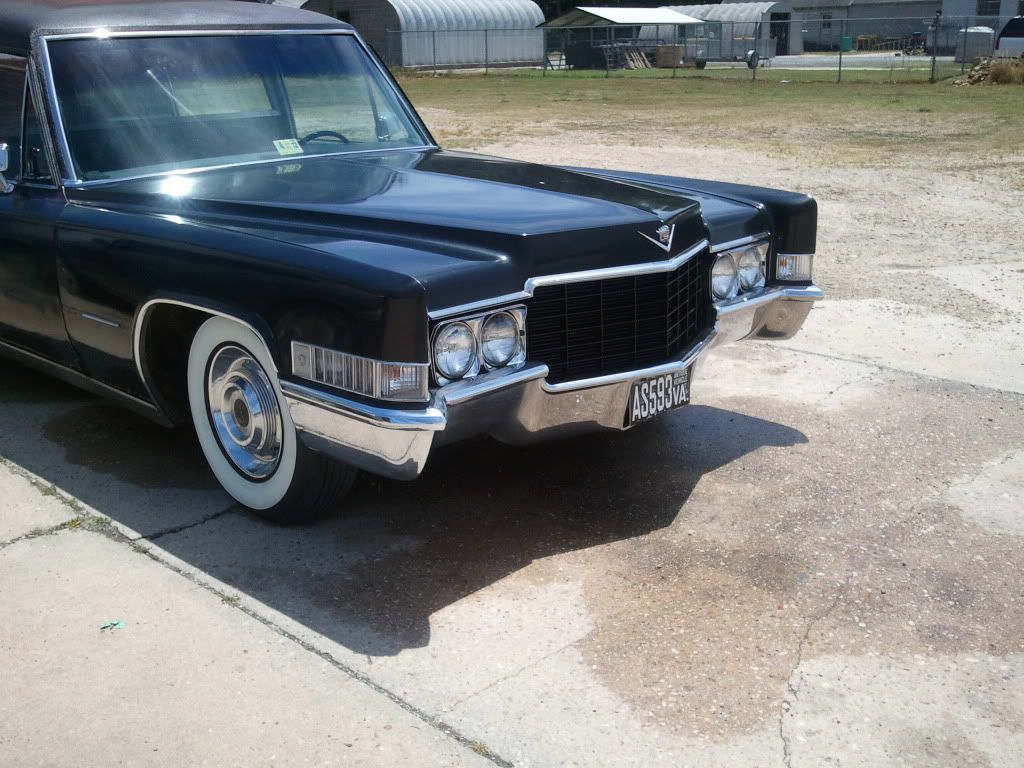
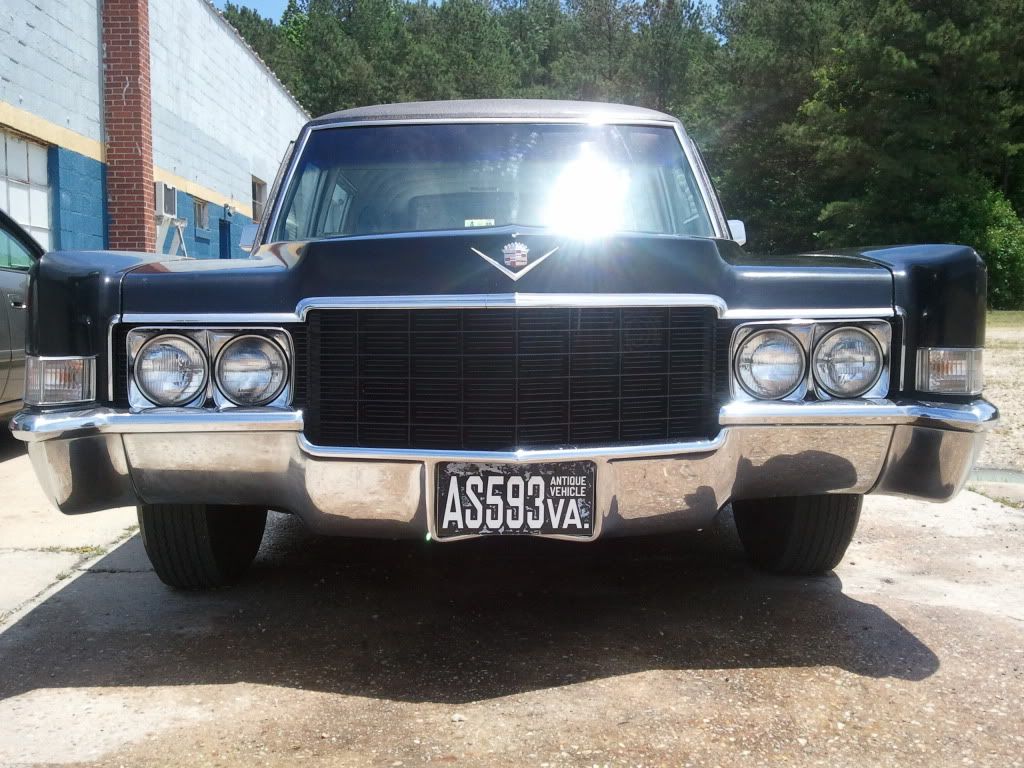
I gave my baby. A little grille treatment the other day. The factory grille was staines and jus could come clean so I painted it satin black. Not the greatest but I can live with it.
Leave a comment:
-
Thanks alot man!.... and will do!Originally posted by spastic_chicken View PostLeave a comment:
-
Bad ass!!
x2 on the build thread! There's a lot of us on the fence that want to do it
Leave a comment:
-
Hell yea man that ain't no problem. I always take a ton of pics...bank on seeing a step by step thread when I start cuttinLeave a comment:
Leave a comment: